|
Getting your Trinity Audio player ready...
|
Whether you’re a new commander stepping onto the battlefield for the first time or simply curious about the hype surrounding Tower Dominion, we’ve got you covered. This guide breaks down essential mechanics and strategies to help you defend your HQ with confidence, no matter your experience level.
🎮 Level Up Your Game with Our Patreon! 🎮
- 📚 Early Access to Full Guides: Get personalized guides for your favorite games before anyone else.
- 🔍 Exclusive Analyses: Deep dives into top teams and game strategies just for you.
- 🏆 Join Tournaments: Compete in tournaments with cash prizes and exclusive in-game items.
- 💥 Be the First: Access the latest news and updates in the gaming world.
👉 Don’t miss out—join our Patreon today and become the ultimate gamer!

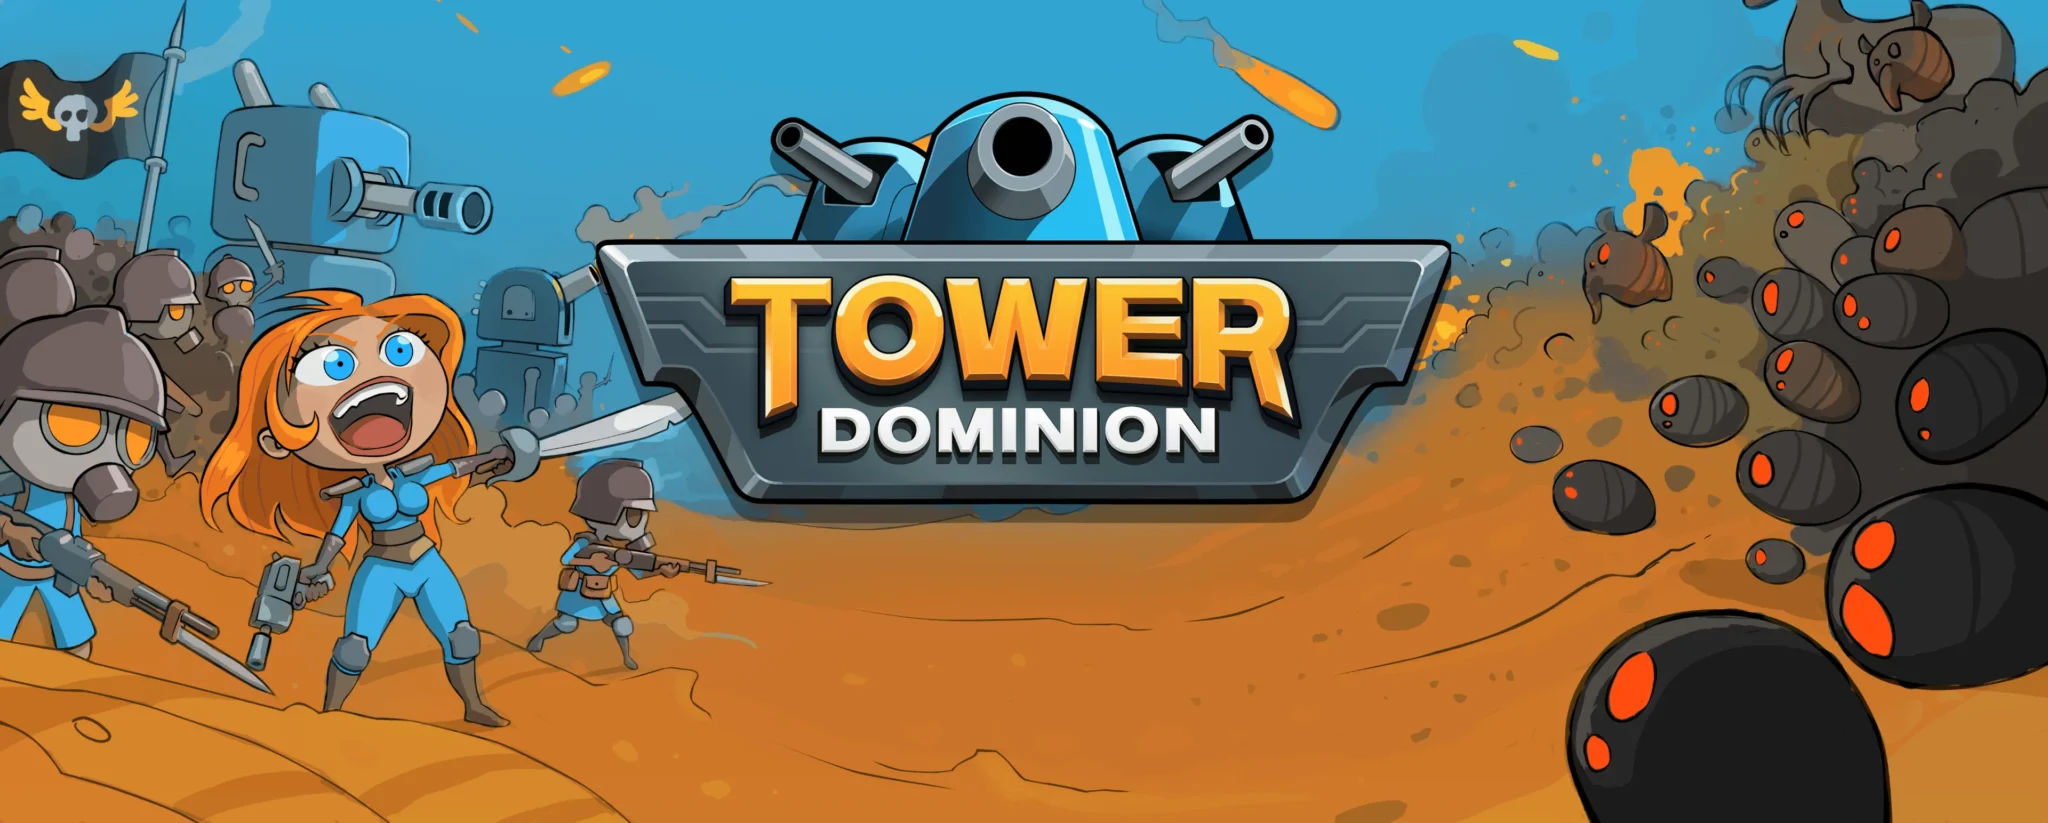
What is Tower Dominion?
Tower Dominion is a unique hybrid of strategy, tower defense, and tactical tile placement. The game blends fast-paced decision-making with long-term strategic planning, rewarding players who understand terrain layout, enemy types, tower upgrades, and resource management.
While advanced players may be pushing into higher difficulty levels and experimenting with doctrine synergies, new players can often feel overwhelmed. So let’s dive into the fundamentals — starting with the Battlefront system, a deceptively complex but critical part of the game.
Understanding Battlefronts

Each map begins with multiple Battlefronts — distinct connections between enemy entry points and your HQ entrances. Every Battlefront counts as a separate “lane” of threat. The default for difficulty level 4 is four battlefronts, meaning you have four simultaneous lanes to defend.
But here’s where strategy begins:
- Placing tiles strategically can merge battlefronts by connecting entry points to the same HQ entrance.
- Doing so can reduce the number of active battlefronts from four to three or fewer, making defense easier.
- Some doctrines and commanders give you bonuses for maintaining four unique lanes, but this is a challenging playstyle.
Creating a single-lane choke point (collapsing all battlefronts into one) is one of the most effective strategies early on. This allows for concentrated area damage and simplifies your tower placement and upgrade decisions.
Hotkeys and Controls
Before you build your first tower, knowing how to move is key:
- W/D or holding right mouse button allows for smooth camera movement.
- Mouse scroll zooms in/out.
- Pressing F returns you to your HQ instantly.
During rounds:
- Spacebar sends the next enemy wave.
- Shift speeds the game up 3x.
- Tab gives an overview of your tower upgrade status.
These shortcuts help speed through the early rounds, giving you more time to test new strategies later on.
Enemy Types and Detection
Enemies in Tower Dominion have various traits, and understanding them is crucial:
- Camouflaged units like Leos or Devore are invisible to towers unless they have detection — look for the green antenna to confirm.
- Detection can be added through tower upgrades, such as the Mirror Door’s Reinforcement.
- Flying units (e.g., Floating CID, Metris) can bypass ground barriers. While most towers can hit them, they take reduced damage unless you build towers specialized in anti-air.
The Puma Position and Imperial Barracks are excellent anti-air defenses for factions like the Pargan Assault Group. Upgrades like the anti-air design boost damage and targeting efficiency.
High-altitude enemies like the Pendor ignore all map pathways and fly directly to your HQ, meaning poor tile layouts will leave you vulnerable. Always plan your tile placement with airborne threats in mind.
The Brida Threat and Shielded Units

Among the most challenging enemies is the Brida:
- You must manually choose where the Brida spawns.
- It selects the tile with the most entry points and cannot be rerolled.
- Brida has a shield in addition to health, making it tougher to kill.
Deploy Shield Breakers like the Claymore’s Multipoles near Brida’s spawn to deal bonus damage and neutralize the threat efficiently.
Terrain, Tiles, and Neutral Buildings
Each tile placed has a chance to spawn a neutral building, offering a variety of passive bonuses:
- Communication Relay boosts periodic resource gains, but only once per adjacent tower.
- Underground Camp allows stacked resources per adjacent tower.
- Desa Amplifier augments only directly adjacent towers — ideal for focusing upgrades on one powerful unit.
The Discovery keyword and factions like Estelia increase your odds of spawning these valuable buildings. Positioning towers adjacent to these structures activates their benefits.
Building the Perfect Strategy
As you progress, you’ll unlock Commanders and Doctrines that tailor your strategy. For example:
- Kigm Yoki and doctrines like Highr Explosives reward wide battlefront play.
- Tier 3 doctrines like Unyielding Determination offer major bonuses — design your build to activate these effects efficiently.
Experimenting with doctrine combinations and tile layouts is key to pushing beyond Level 35. Mastering your opening rounds will give you the flexibility to survive the tougher waves ahead.
Final Thoughts
Tower Dominion is still in test phase but offers a deeply engaging experience for both casual players and hardcore strategists. Whether you’re perfecting your battlefronts or unlocking tier-three doctrines, there’s always more to explore.